


Home repair & DIY guides
Practical Home Repair Guides
Step-by-step guidance for the repairs households tackle most — planning, mounting, small plumbing and electrical fixes, and painting — with clear safety limits.
PlanningMounting & anchorsPlumbing fixesPainting prep
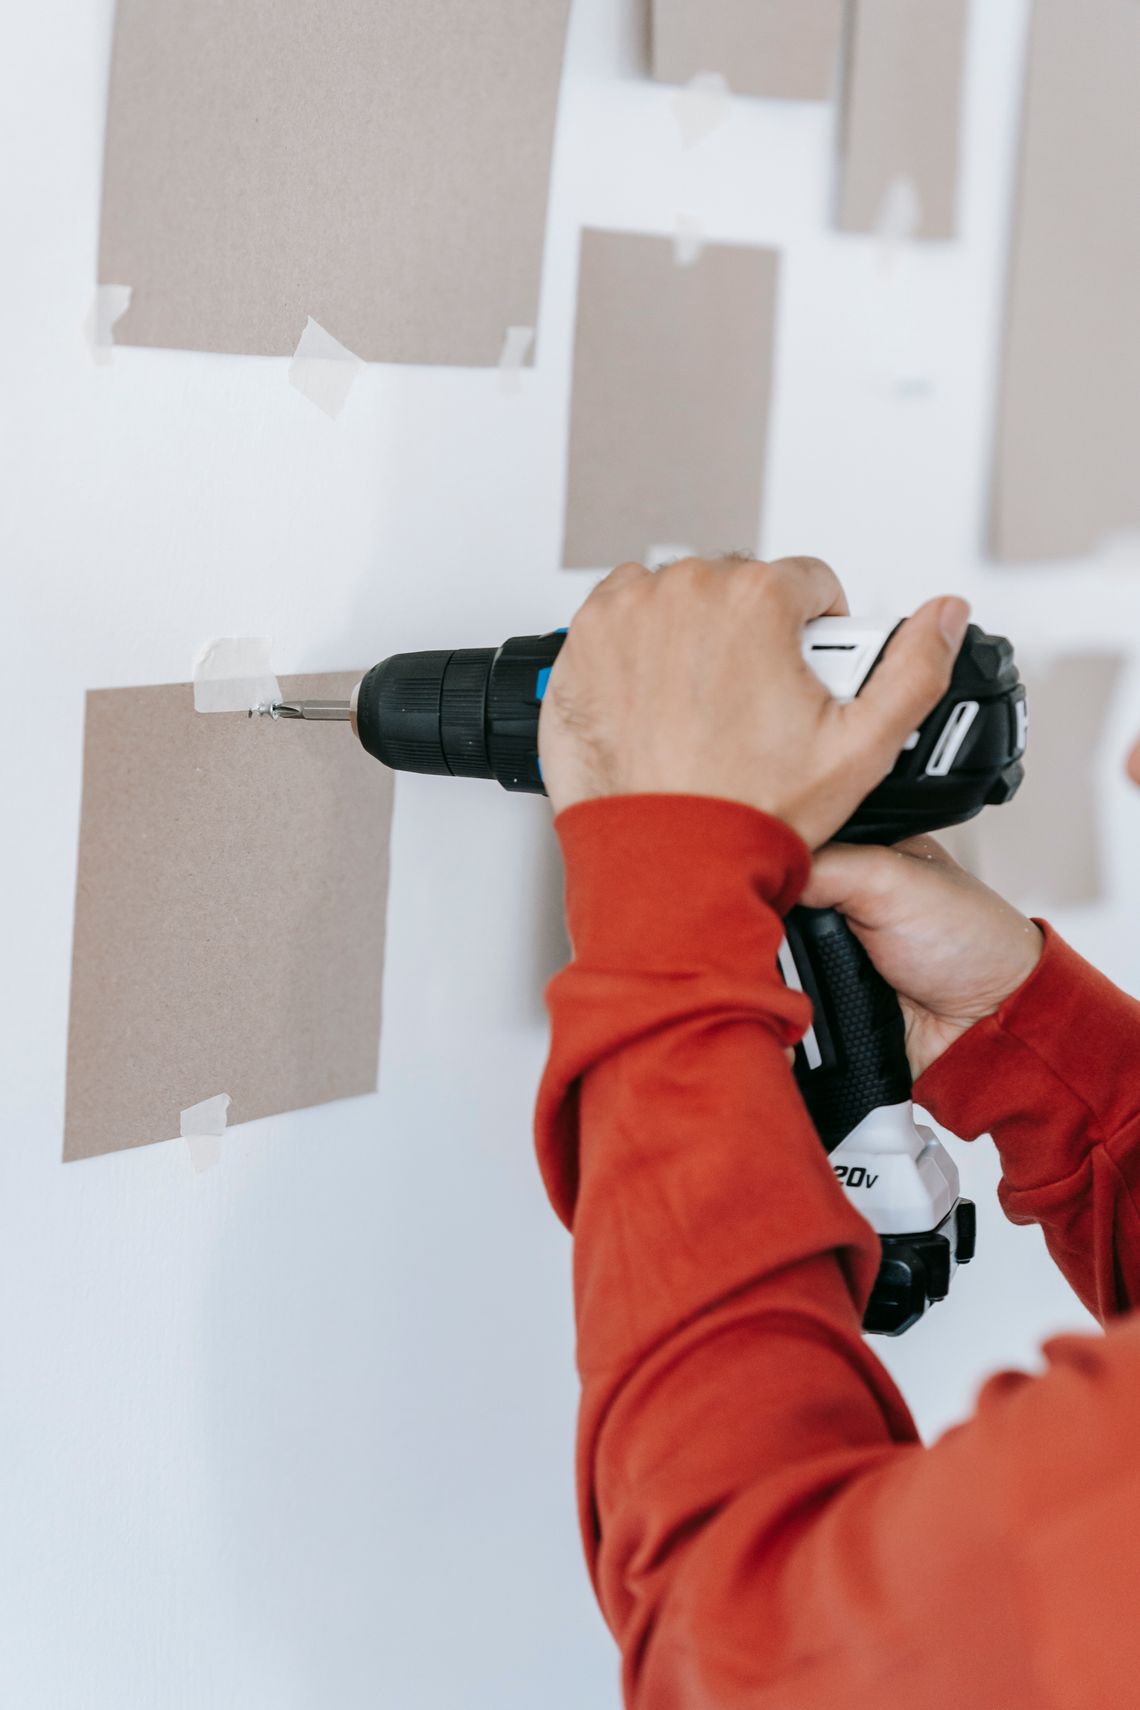
Guide 01 · Planning
Measure First, Fix Once
A reliable repair follows the same five steps, whatever the job.
Diagnose
Identify the real cause, not just the symptom.
Measure
Record width, height, depth and clearance.
Specify
Match parts by type, size and material.
Prepare
Protect surfaces and check for hidden services.
Test
Use the repair as it will be used daily.
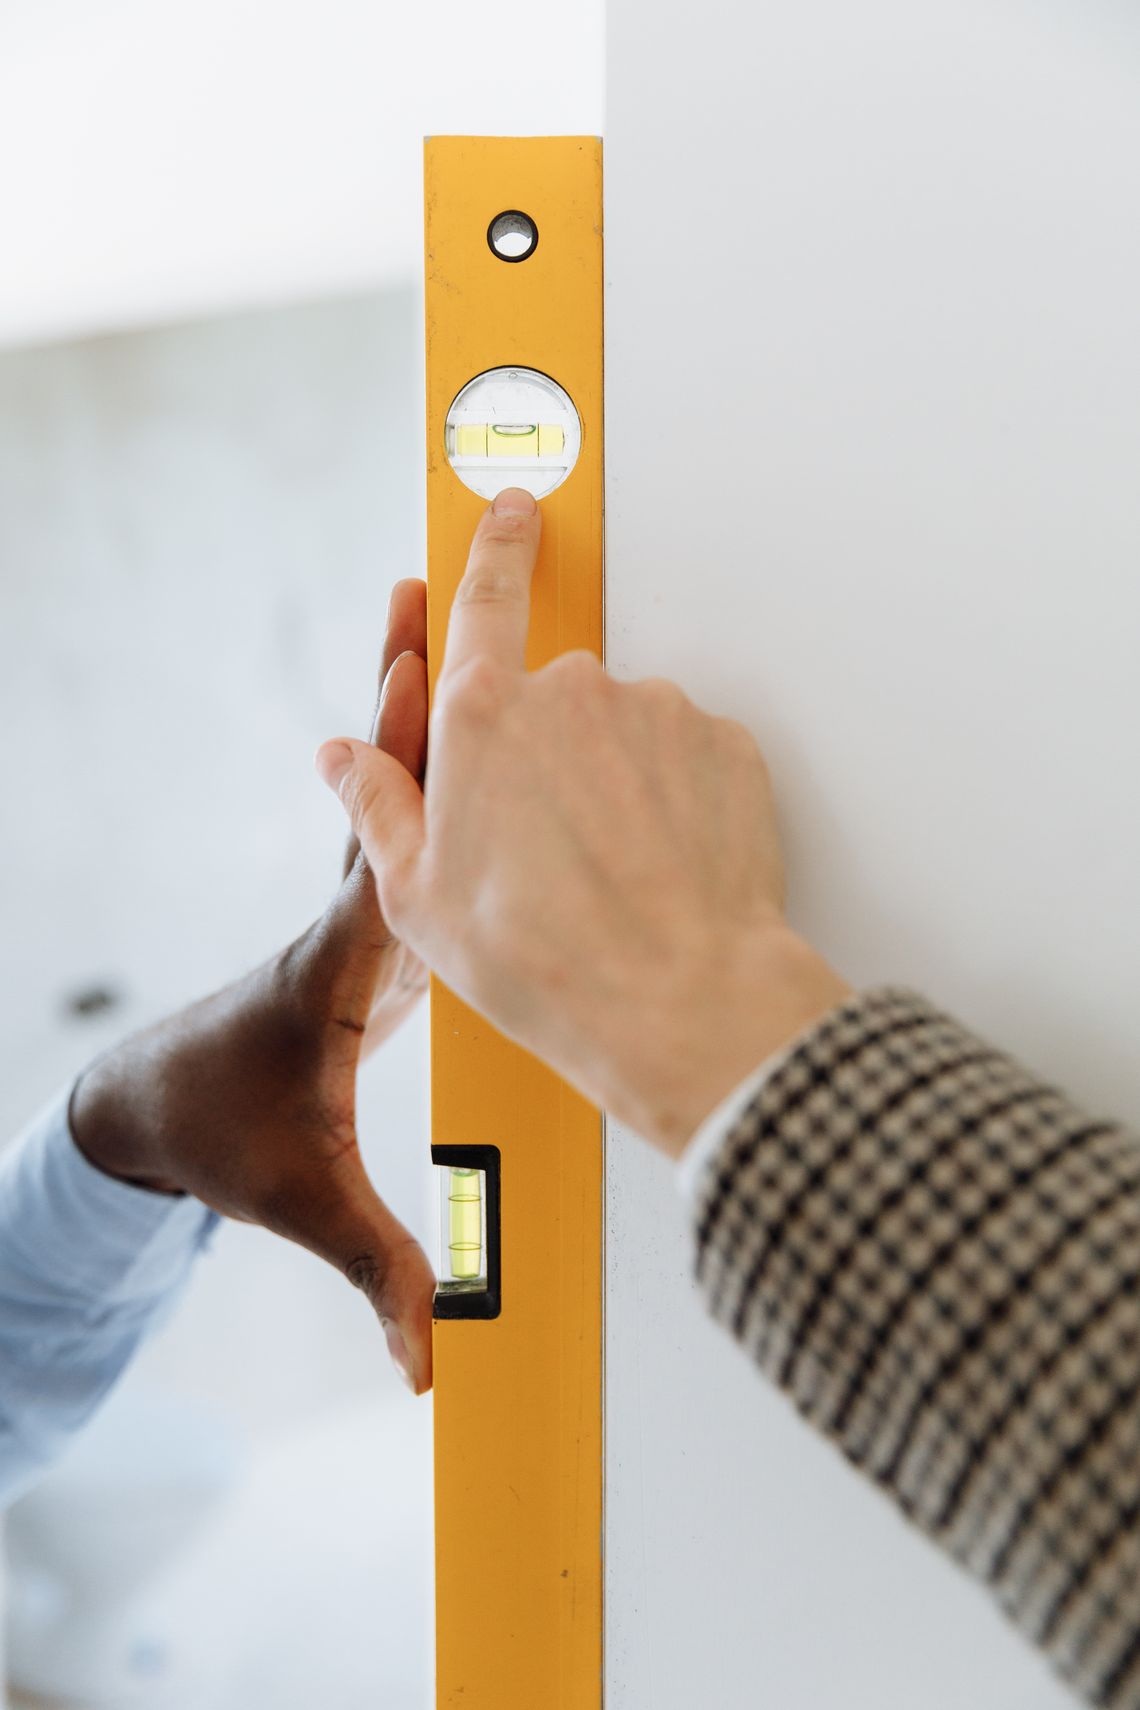
Guide 02 · Mounting
Choose the Right Wall Anchor
The surface you see is not always the structure that carries the load. Identify the wall material, consider the total weight and how the item will be used, then follow the hardware manufacturer’s rating.
| Wall & load | Common approach | Watch for |
|---|---|---|
| Drywall, light items | Plastic expansion anchors | Pre-drill to the size stated |
| Drywall, medium items | Self-drilling drywall anchors | Do not overtighten |
| Drywall, heavier items | Toggle bolts or fix into a stud | Check the rated load |
| Wood stud | Wood screws into the stud | Locate the stud center |
| Brick or block | Masonry anchors with a masonry bit | Use the stated hole depth |
Important: for TVs, heavy cabinets or overhead loads, use the manufacturer’s mounting system and consider professional installation.
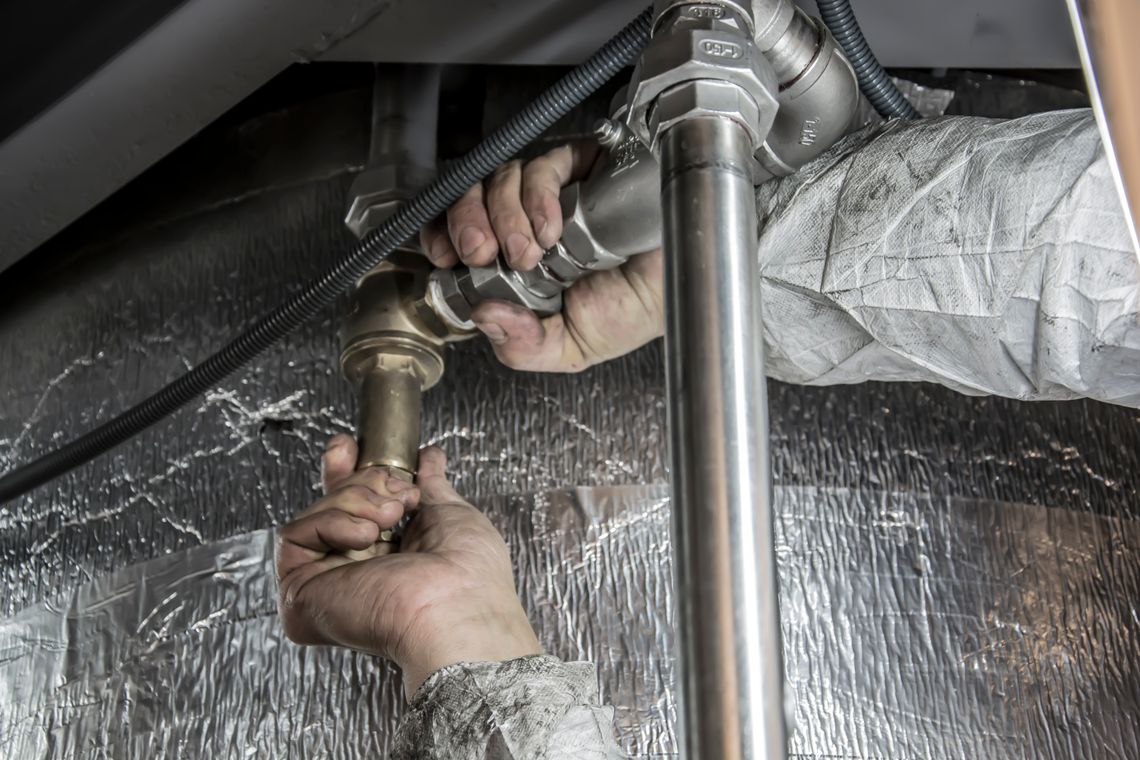
Guide 03 · Plumbing
Small Plumbing Fixes
Many common drips and running toilets come down to simple parts. Always start by locating and closing the fixture’s shutoff valve.
- Faucet aerators unscrew for cleaning or replacement.
- Toilet flappers are a frequent cause of running water.
- PTFE thread tape wraps clockwise on male threads.
- Check for leaks slowly after restoring water.
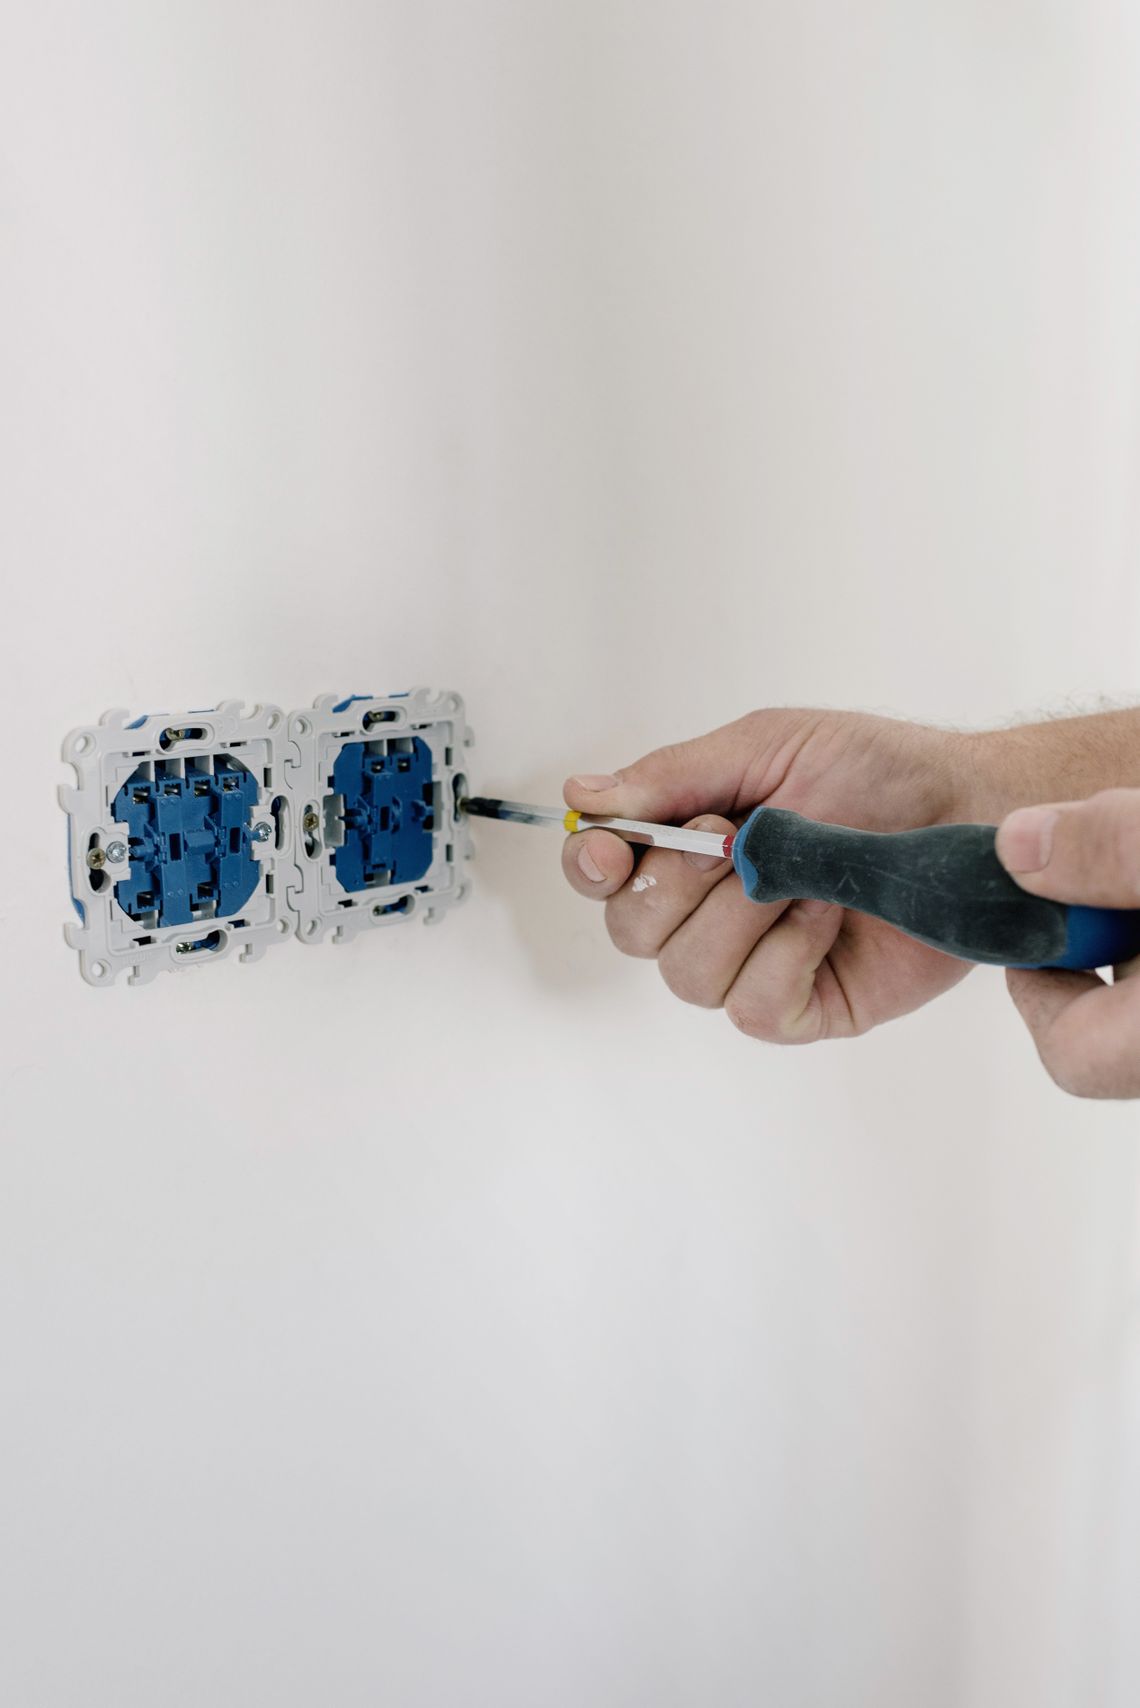
Guide 04 · Electrical
Wall Plates & Covers
Replacing a cracked switch plate or outlet cover is a simple cosmetic update. Turn off power at the breaker before removing any plate, and never touch wiring.
Know the limit: replacing switches, outlets or any household wiring should be handled by a licensed electrician.
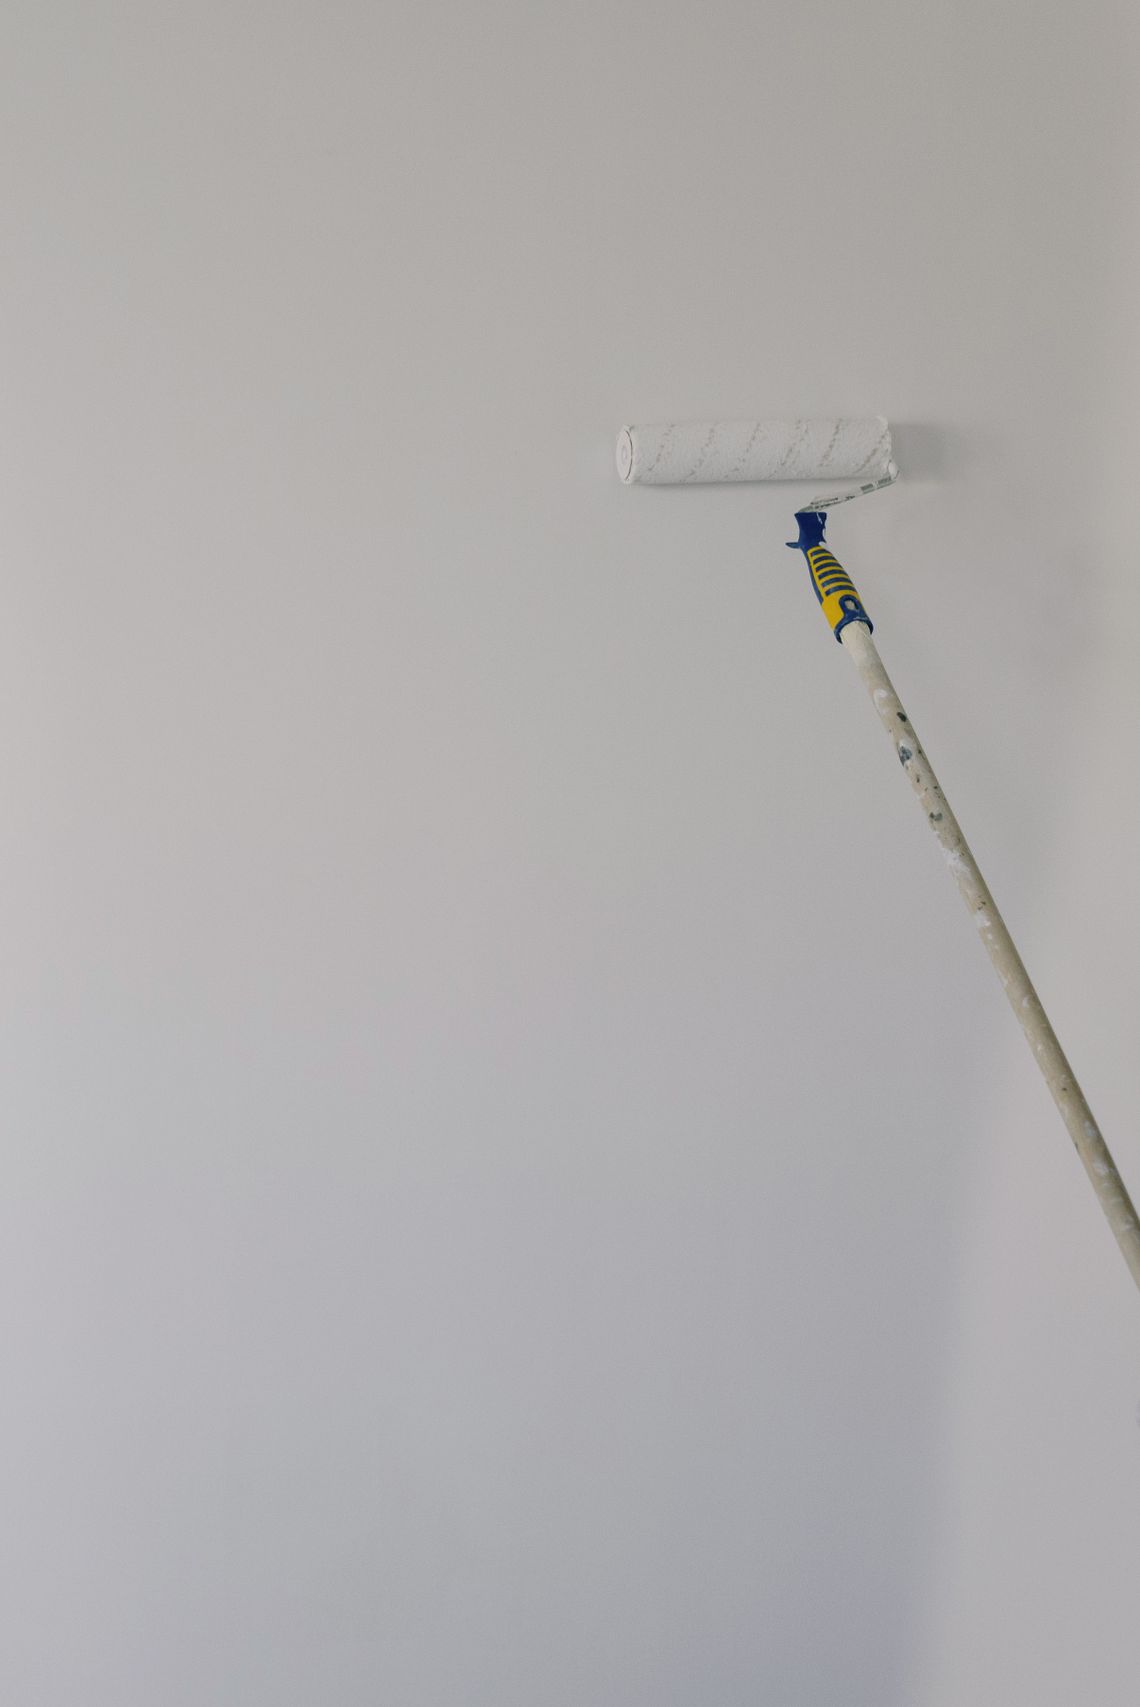
Guide 05 · Painting
Paint Prep, Step by Step
Clear & Protect
Move furniture and cover floors.
Repair
Fill and smooth minor surface flaws.
Mask
Tape clean edges and trim.
Apply
Follow label drying and recoat times.
Guide 06 · Safety
When to Call a Professional
Good DIY includes knowing the limits.
Household Wiring
Switches, outlets, circuits and panels need a licensed electrician.
Gas Connections
Any gas appliance or line work requires a qualified professional.
Structural Changes
Load-bearing walls, decks and stairs need expert design and permits.
Water Damage
Active leaks, mold or rot need professional assessment.
DIY help, 24/7
Stuck on a Repair?
Send us your measurements, photos and project details, and we will help you choose the right parts.
- Emailsupport@fixnelo.lol
- Phone+1 (224) 336-8108
- Address3648 Bainbridge St, Round Rock, TX 78681, United States